
For many cat owners, building a scratching post at home feels like a simple and satisfying project. It can save money, give you control over materials, and allow you to design something that fits your home. For those of us who have lived with cats for decades, DIY projects also become a way to give our pets something personal. You build it with their habits in mind, their favorite nap spots, and the way they stretch after waking up.
On a website like BellenPaws.com, where many readers care for older cats, scratching posts become more than just furniture. They support mobility, protect aging joints, and give cats a healthy way to maintain their claws and muscles. Senior cats still need to stretch and scratch, even if they are not as energetic as they once were.
Over the years we have built more scratching posts and cat structures than we can count. Some worked beautifully. Others quickly taught us what not to do. Learning from those early mistakes can save time, money, and frustration, while also creating a safer and more enjoyable environment for your cat.
Below are some of the most common mistakes people make when building DIY scratching posts, along with practical ways to avoid them.
Using the Wrong Type of Rope
 One of the most common DIY scratching posts uses rope wrapped around a wooden post. It is a classic design because cats love the texture and the vertical stretching it allows.
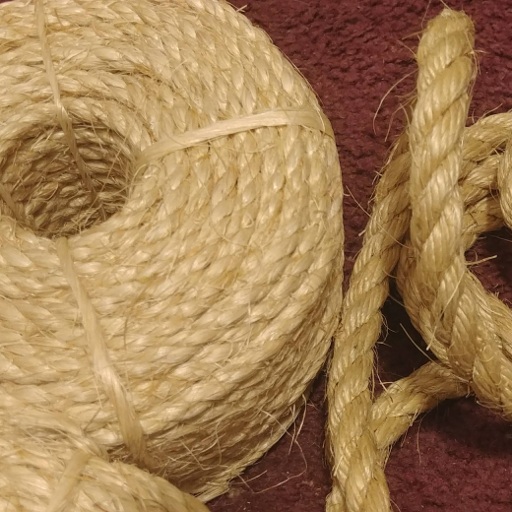
The problem often starts with the type of rope people choose. Many hardware stores sell synthetic rope made from nylon or polypropylene. These materials may look strong and durable, but they are not ideal for scratching posts. They can feel slippery under a cat’s claws and sometimes fray into stiff strands that are not comfortable for scratching.
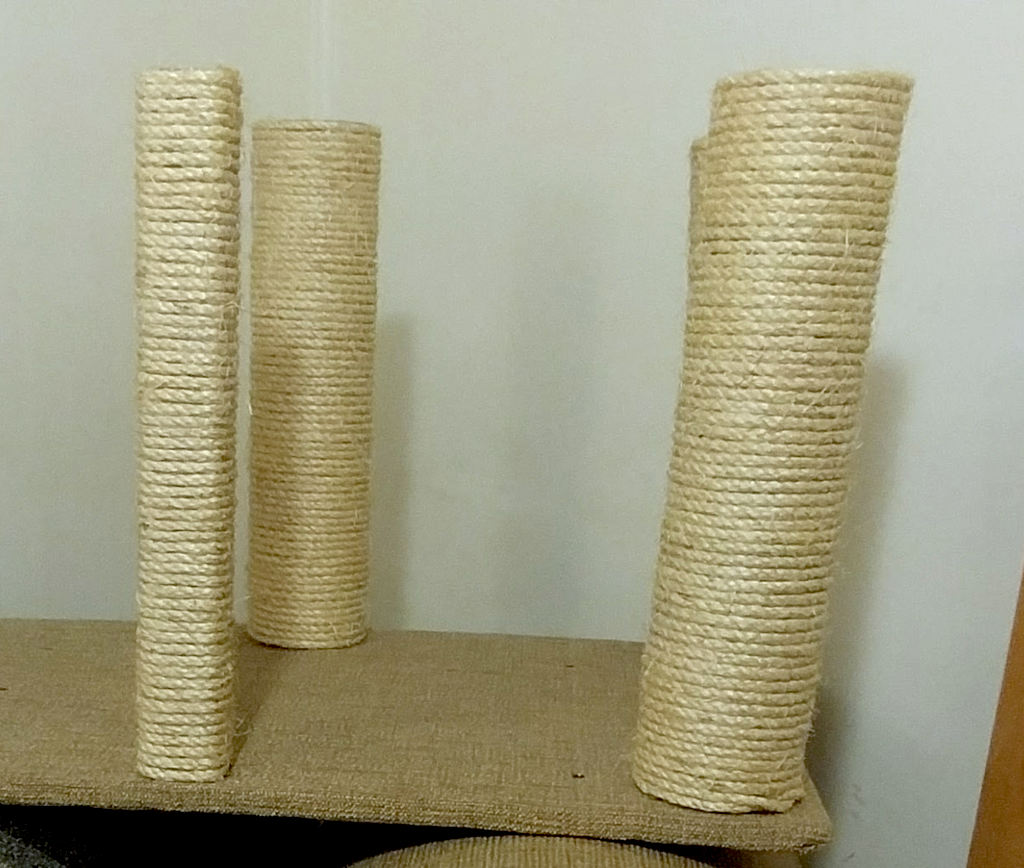
Natural sisal rope is usually the better option. It has a rough texture that cats naturally enjoy, and it holds up well to repeated scratching. Sisal fibers tend to break down in a softer way over time instead of forming sharp strands.
Another mistake is choosing rope that is too thin. Thin rope means more wrapping layers and more gaps where the rope can shift. Thicker rope creates a more stable surface and makes the post last longer. Our rope length calculator helps take the guesswork out of length and thickness.
Not Securing the Rope Tightly Enough
Even when the correct rope is chosen, many DIY posts fail because the rope is not secured tightly. If the rope can slide or loosen, the entire scratching surface becomes unstable. Cats are sensitive to movement under their paws. If the rope shifts when they scratch, many cats will simply stop using the post. Some may even pull the rope loose completely.
When wrapping rope around a post, each loop should be pulled tightly against the previous one. Wood glue or construction adhesive between layers can help prevent slipping. A staple or screw hidden at the top and bottom can also lock the rope in place.
Taking a little extra time during construction can make a huge difference in how long the post lasts.
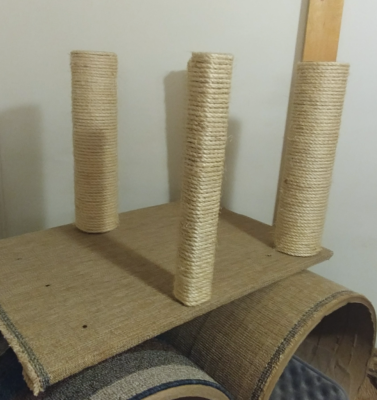
Making the Post Too Short
 This is one of the most common mistakes we see when people build scratching posts at home. A short post might look neat and compact, but it does not allow a cat to fully stretch. When cats scratch vertically, they extend their front legs and stretch their back muscles. This stretching is important for muscle health and flexibility, especially for senior cats who benefit from gentle movement throughout the day.
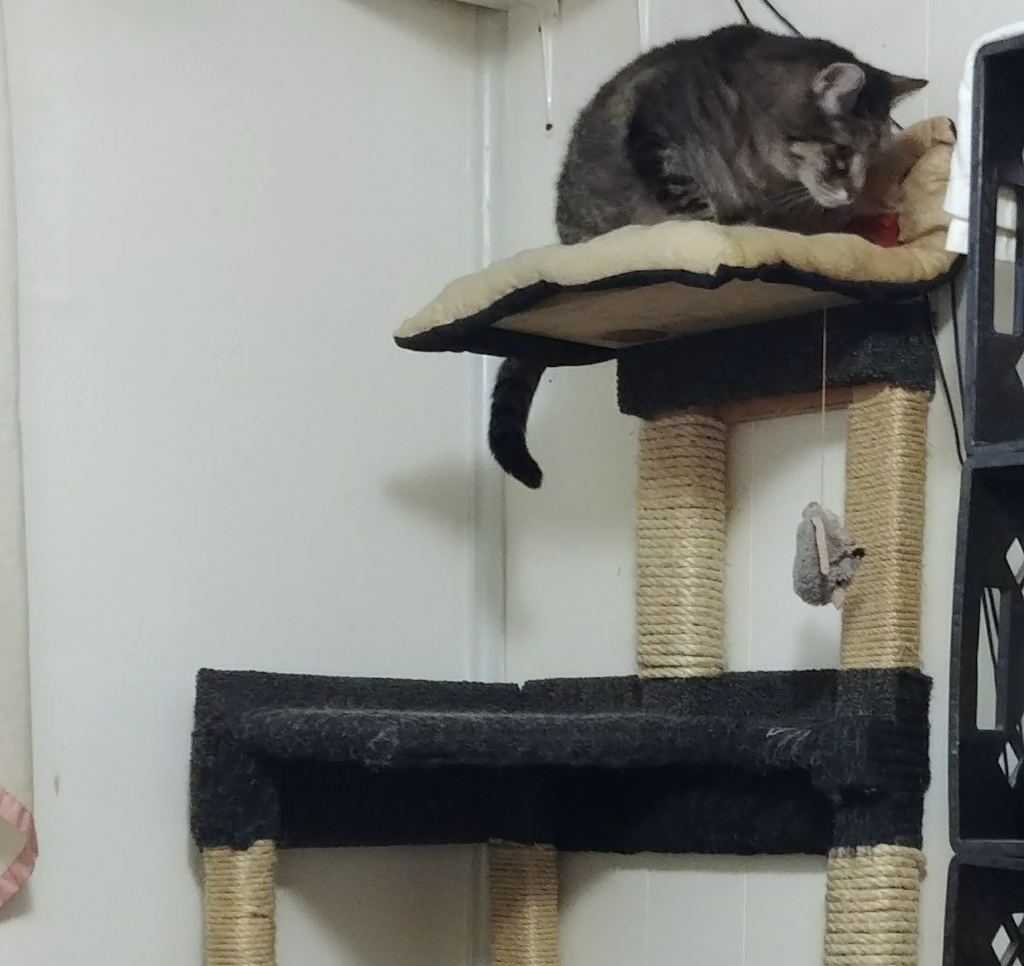
A good vertical scratching post should usually be at least 30 inches tall. Larger cats may benefit from even taller posts. The goal is to allow the cat to reach upward comfortably while standing on their back legs. Older cats may not leap or climb as much as they once did, but they still appreciate a good stretch.
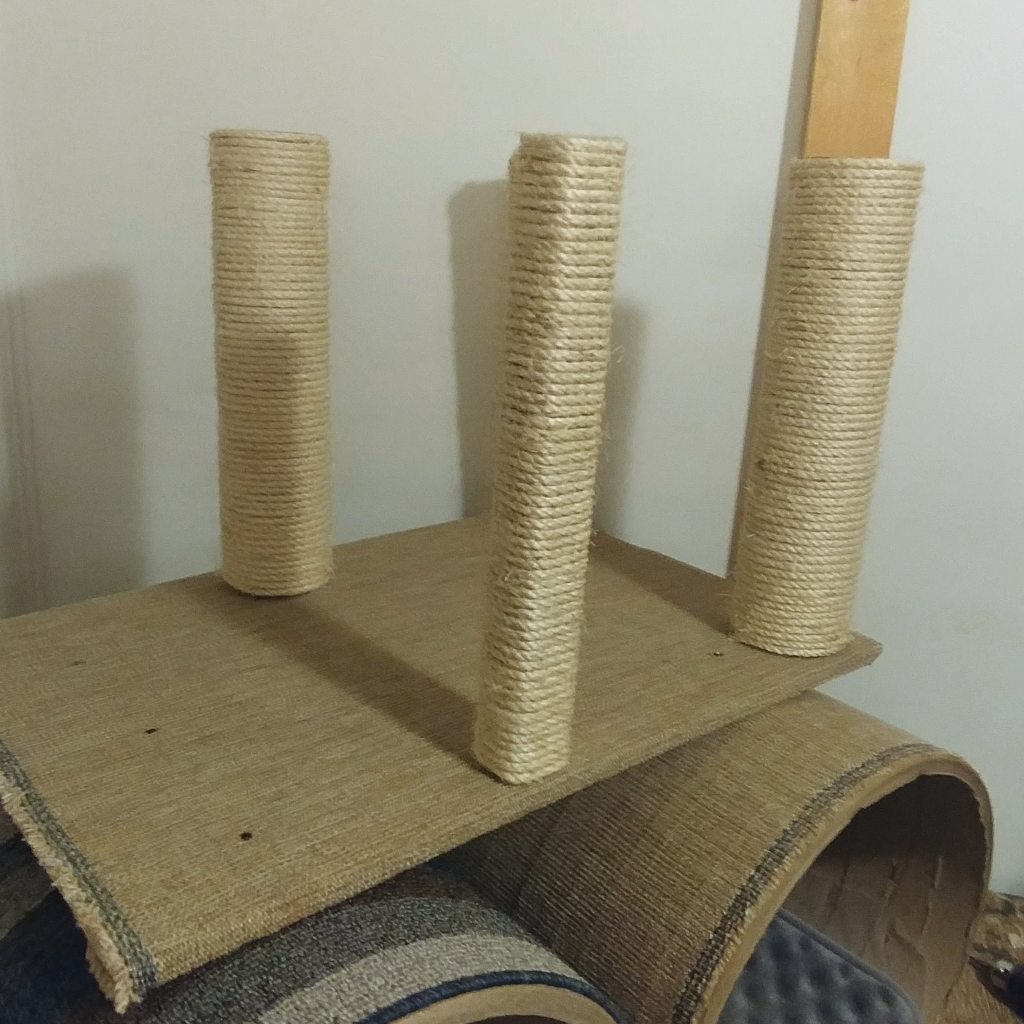
Ignoring Stability
A scratching post that wobbles or tips over will quickly be abandoned by most cats. Stability is especially important for senior pets who may have arthritis or reduced balance. A strong base is essential. Many homemade scratching posts fail because the base is too small or too light. When a cat leans into a scratch, the entire structure may shift.
A wide, heavy base made from solid wood or thick plywood usually works best. Some people also add extra weight underneath the base to keep it firmly planted. In our experience, a stable scratching post is one of the biggest factors that determines whether a cat actually uses it.
Using Materials That Are Too Hard
Another mistake is choosing materials that are too hard or too smooth. Some DIY builders try wrapping posts with carpet scraps or fabric that feels comfortable to human hands. Unfortunately, many carpets are too dense for cats to dig their claws into. Instead of a satisfying scratching surface, the material becomes frustrating.
Sisal rope or sisal fabric tends to provide the best balance between durability and scratch resistance. It gives the cat something they can grip without damaging their claws. Some cats also enjoy cardboard scratching surfaces, which can be incorporated into larger cat structures.
Forgetting About Senior Cats
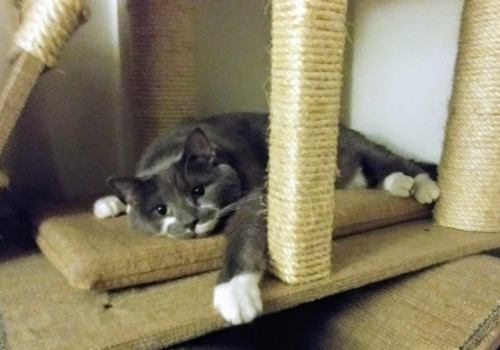
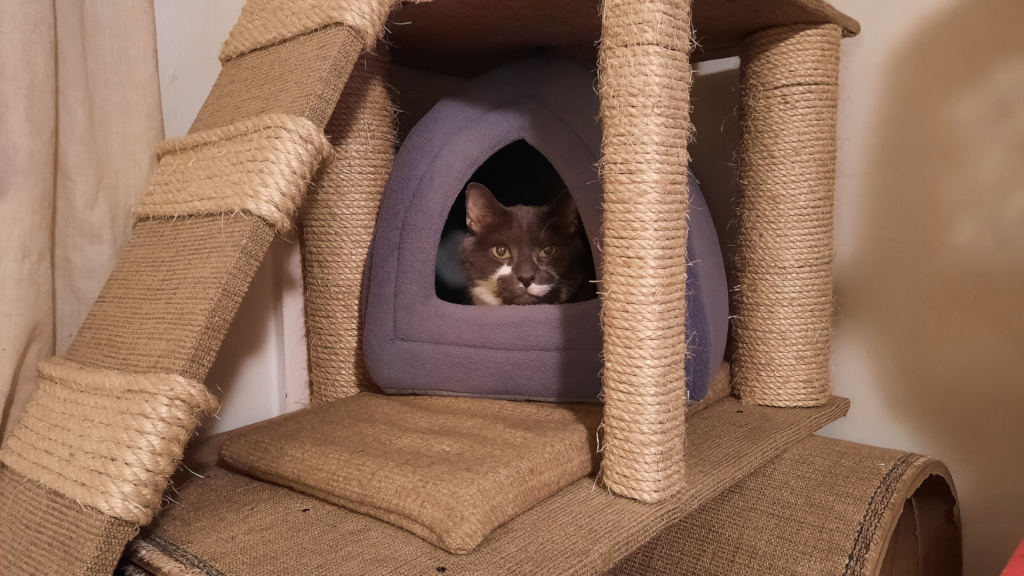
 When people design scratching posts, they often imagine energetic kittens jumping and climbing. But many households, including ours over the years, are filled with older cats. Senior cats may not climb tall towers, but they still want comfortable scratching options. Posts that are easy to reach and located near favorite resting spots are more likely to be used.
Lower scratching surfaces, angled boards, or horizontal scratching pads can be especially helpful for aging pets. These options allow cats with arthritis or mobility issues to maintain their scratching habits without discomfort. We have noticed that older cats often prefer scratching posts placed near their sleeping areas. After a nap, they stretch, scratch, and then slowly wander off for their next activity.
Placing the Post in the Wrong Location
Even the best scratching post can be ignored if it is placed in the wrong spot. Cats scratch for several reasons. They maintain their claws, stretch their muscles, and mark their territory through scent glands in their paws. Because of this, scratching often happens in visible and frequently used areas of the home.
If a DIY scratching post is hidden in a quiet corner, the cat may never use it. Placing posts near doorways, furniture, or sleeping areas often produces better results. Many owners notice that cats like to scratch right after waking up. Placing a scratching post near a favorite bed or resting spot can encourage regular use.
Not Thinking About Longevity
A scratching post is not a permanent structure. Over time, rope will wear down and fibers will loosen. This is normal and often means the post has been used exactly as intended. However, building a post in a way that allows repairs can extend its life significantly. For example, leaving enough room to rewrap rope or replace sections makes maintenance easier later on.
Some DIY builders glue everything together permanently. While this may look clean, it can make repairs impossible. A design that allows simple replacement of worn materials can keep a scratching post useful for many years.
Overcomplicating the Design
 One of the most common DIY traps is making the project more complicated than it needs to be. Elaborate cat towers with multiple levels, ramps, and tunnels can be fun to build, but they are not always necessary. Many cats are perfectly happy with a single sturdy scratching post. What matters most is that the surface feels good under their claws and the structure feels safe.
Simple designs also make repairs easier. If the rope wears down or the post becomes damaged, a straightforward design allows quick fixes. In our home, some of the most popular scratching posts were the simplest ones.
A Lesson From Experience
Living with pets for many years teaches you that every cat is different. Some prefer tall posts. Others prefer scratching boards on the floor. Some love sisal rope while others gravitate toward cardboard. Through the years, our cats have shown us that trial and error is part of the process. One scratching post may become a favorite while another is ignored completely.
That is one reason DIY projects can be so rewarding. You can adjust designs based on what your cat actually enjoys.
On a website like BellenPaws.com, we share these lessons because many pet owners are navigating the same experiences. Whether someone is caring for a playful kitten, a senior cat with arthritis, or a diabetic pet that needs careful monitoring, the goal is always the same. We want our animals to live comfortably and safely in the homes we share with them.
A well built scratching post is a small thing, but it can make a meaningful difference in a cat’s daily life.
Final Thoughts
 Building a DIY scratching post can be a fun and practical project for cat owners. With the right materials, proper stability, and thoughtful placement, a homemade post can provide years of use. Avoiding common mistakes helps ensure the final result is something your cat will actually enjoy. Choose natural materials, build a sturdy base, allow enough height for stretching, and think about the needs of older pets.
Cats rely on scratching to stay healthy, relaxed, and mentally stimulated. By giving them a safe and satisfying place to scratch, you are supporting a natural behavior that benefits both their physical health and emotional well being.
Sometimes the simplest projects turn out to be the most valuable ones. In the quiet moments when a cat stretches, scratches, and settles back down for another nap, you are reminded that small acts of care often mean the most.