
A scratched sofa can make even the most patient cat parent feel defeated. One day, the arm of the couch looks fine. A week later, loose threads hang from the fabric, the corner is fuzzy, and your cat is returning to the same spot with impressive dedication.
We have lived with many cats over the years, including Belle and Paws, the senior cats who inspired BellenPaws. Every cat had different habits. Some preferred cardboard scratchers. Others wanted carpet, rope, bare wood, or the side of a piece of furniture that cost far more than any scratching post.
The good news is that scratched furniture can often be repaired or disguised. Better yet, future damage can usually be reduced once you understand why your cat chose that particular spot. Punishment rarely fixes scratching. A better approach is to repair the damage, protect the furniture, offer a more satisfying scratching surface, and make the approved option easier to reach.
Scratching Is Normal Cat Behavior
 Cats do not scratch furniture because they are angry, spiteful, or trying to destroy something you value. Scratching serves several natural purposes. It helps remove the worn outer layers of the claws. It stretches the muscles through the shoulders, back, legs, and paws. It also leaves a visual and scent marker. Cats have scent glands in their paws, so a scratched surface becomes part of the way they identify familiar territory.
The location of the damage often makes sense from a cat’s point of view. Sofa arms are sturdy. Chair legs offer resistance. Door frames sit near busy pathways. Upholstered corners provide a satisfying surface where the cat can pull downward without the material moving away.
Many cats also scratch after waking, during play, before meals, or when family members return home. These moments can become predictable. That gives you a chance to place an approved scratcher exactly where the behavior already happens.
Inspect the Damage Before Starting Repairs
The right repair depends on the material and the depth of the damage. A few loose threads require a different response than torn leather or an exposed wooden corner. Begin by gently cleaning the area. Remove pet hair, dust, and loose fibers so you can see the full extent of the damage. Avoid pulling hanging threads because that can enlarge the damaged area.
Check whether the damage is cosmetic or structural. Cosmetic damage affects the surface but does not weaken the furniture. Structural damage may include separated seams, loose upholstery, damaged padding, broken wood, or exposed staples.
A surface repair is usually manageable at home. Deep damage near reclining mechanisms, electrical components, structural joints, or sharp exposed hardware may require an upholstery professional. Take several clear photographs before making changes. Photos help you compare the repair, match fabric or color, and explain the damage if you later contact a repair shop.
Repairing Snags and Fuzz on Fabric Furniture
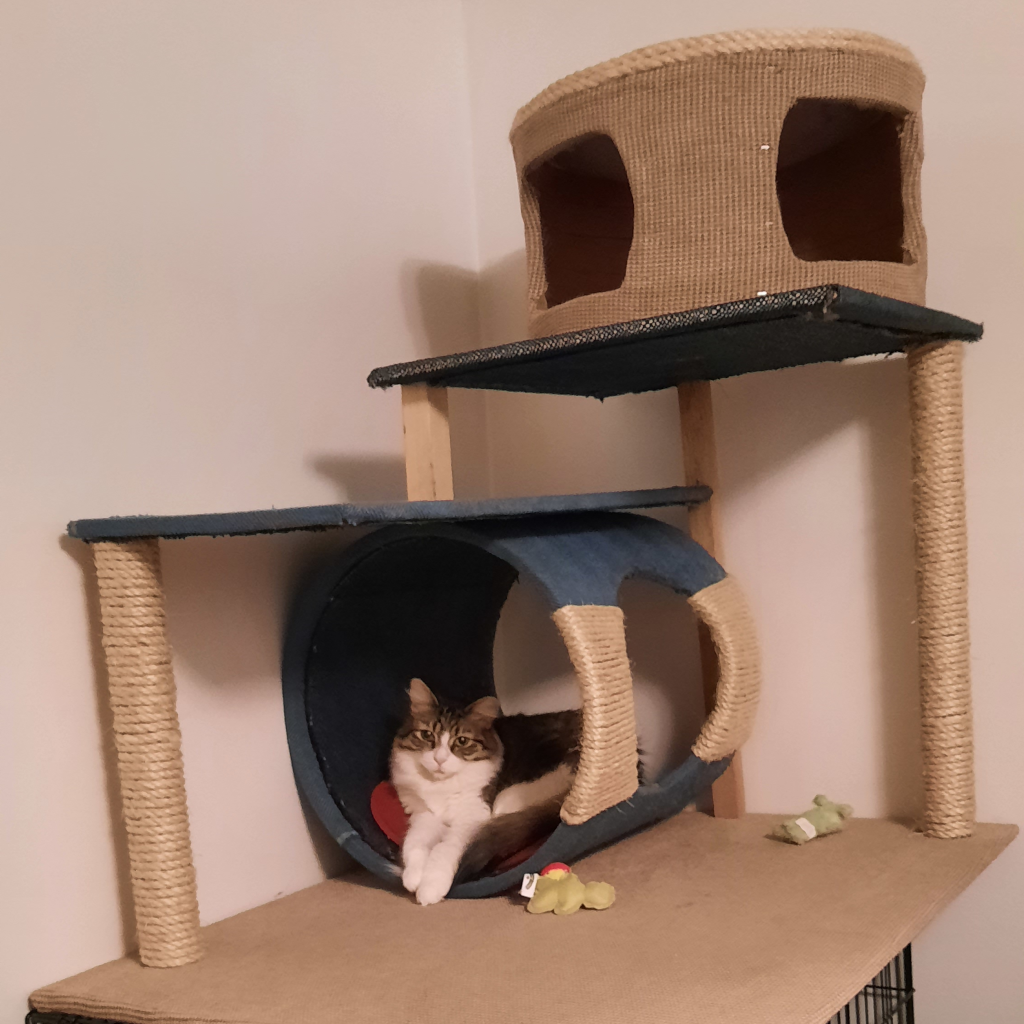 Minor fabric damage is often easier to improve than it first appears. Loose loops should be pushed back into the upholstery rather than cut immediately. A small crochet hook, blunt sewing needle, or upholstery repair needle can help pull a snag through to the underside of the fabric. Work slowly. Tugging hard can widen the weave or distort the surrounding material.
Fuzzy areas can sometimes be cleaned up with a fabric shaver. Use the lightest pressure possible and test it on a hidden section first. Upholstery fabric may be thinner than clothing fabric, and aggressive shaving can create a weak patch.
Small loose fibers can also be trimmed with fine scissors. Keep the blades parallel to the surface and remove only the fibers standing above the fabric. Do not cut into woven loops or intact threads. After trimming, gently brush the area in the direction of the original fabric texture. A soft clothing brush can help blend the repaired section with the surrounding upholstery.
For a small tear, upholstery adhesive may prevent the edges from spreading. Choose a flexible fabric adhesive that dries clear. Apply only a tiny amount beneath the torn edges, press them together, and keep pets away until the product is fully dry and any odor has disappeared.
Patching Larger Fabric Tears
Larger tears often need a backing patch. The goal is to support the damaged fabric from behind so the tear does not continue spreading. A patch can be cut from matching upholstery fabric, a hidden section beneath the furniture, or a closely matched repair fabric. The patch should extend beyond the damaged area on every side.
Slide the patch underneath the tear using tweezers or a blunt tool. Keep the finished side facing outward through the opening. Apply upholstery adhesive between the patch and the underside of the original fabric, then press the torn edges into place.
Some repairs can be stitched with a curved upholstery needle and heavy thread. Small, closely spaced stitches usually blend better than large ones. Choose thread that matches the main fabric color, not necessarily the darkest thread visible in the pattern.
Textured fabrics are forgiving. Exact alignment matters more with stripes, geometric patterns, or clearly repeating designs. Slipcovers are another practical option. A fitted cover can hide extensive surface damage, protect the remaining upholstery, and give the furniture a second life without the cost of complete reupholstering.
Repairing Scratched Leather and Vinyl
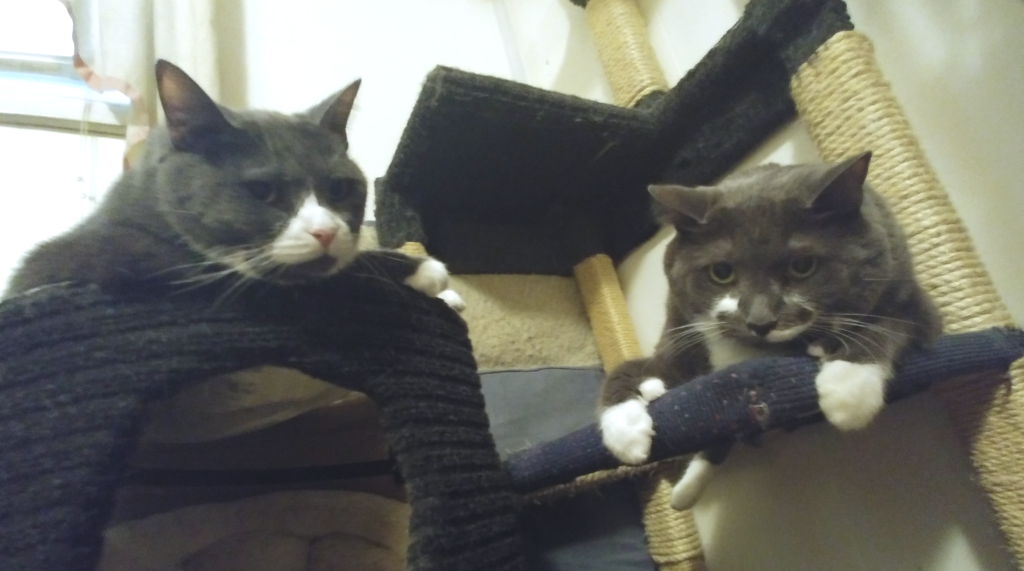 Leather repairs depend on whether the claws created surface marks, roughened the finish, or cut through the material. Begin with a cleaner made for the specific type of leather. Household cleaners, alcohol, and strong degreasers can remove protective coatings or discolor the surface. Light scratches may become less visible after gentle cleaning and conditioning. Use a leather conditioner approved for the furniture, apply a small amount, and buff it carefully with a soft cloth.
Raised fibers on genuine leather can sometimes be pressed down with leather repair glue. Deeper scratches may require a filler, color compound, and protective finish. Leather repair kits are available in many shades, but color matching can be difficult. Test every product on a concealed area first.
Vinyl and bonded leather behave differently from full-grain or top-grain leather. Once the manufactured top layer begins peeling, conditioning will not restore it. A flexible vinyl repair compound or an adhesive furniture patch may improve the appearance, but widespread peeling is often difficult to stop permanently.
Avoid applying essential oils or strongly scented homemade mixtures to leather furniture. Some oils can stain the material, and concentrated essential oils may be unsafe around cats through skin contact, inhalation, or grooming exposure.
Repairing Scratched Wooden Furniture
Wooden legs, trim, and corners often collect shallow claw marks. These can usually be softened without stripping the entire piece. Clean the surface with a product appropriate for the furniture finish. Once dry, inspect the scratches under good lighting.
A matching furniture touch-up marker can conceal pale surface lines. Wax repair sticks are helpful for slightly deeper grooves. Press the wax into the scratch, remove the excess with a plastic scraper or soft cloth, and buff the area gently.
Deep gouges may require wood filler. After the filler dries, it can be carefully sanded, stained, and sealed. Protect surrounding upholstery before sanding or staining. Cats may return to repaired wooden areas if the shape and location still feel satisfying. A narrow sisal wrap, furniture guard, or nearby vertical post may be needed after the cosmetic repair.
Covering Damage That Cannot Be Perfectly Repaired
 Not every repair needs to become invisible. Some furniture is easier to save through creative covering. Decorative arm covers can hide scratched sofa corners. A folded quilt, washable throw, or fitted protector can cover the cat’s preferred area while improving the appearance of the room.
Furniture corner guards are available in clear plastic, flexible vinyl, fabric, and scratching-friendly materials. Some attach with straps, while others use upholstery pins or adhesive. Adhesives require care. A strong adhesive may damage fabric, leather, stain, or varnish when removed. Test it in a hidden location and follow the furniture manufacturer’s care instructions.
A scratching panel attached over the damaged section can turn the former problem area into an approved scratching surface. This works especially well when the cat refuses to give up a favorite sofa corner. Instead of fighting the location, you change what the cat is allowed to scratch there.
Choose a Scratcher That Matches the Cat’s Preference
Many failed scratching posts are not truly attractive from the cat’s perspective. They may wobble, feel too soft, stand too short, or use a texture the cat does not enjoy. A cat that scratches the side of a sofa probably prefers a vertical surface. A cat that scratches carpet may prefer a horizontal or angled scratcher. Cats that target wood may enjoy a firm post with natural bark, tightly wrapped rope, or a sturdy wooden scratching board.
Height matters. A vertical post should be tall enough for the cat to stretch fully without reaching the top. It must also remain stable when pulled. If the base tips, slides, or rocks, many cats will abandon it.
Senior cats may need lower or angled scratchers. Arthritis, weakness, balance changes, or sore joints can make a tall vertical stretch uncomfortable. A broad cardboard scratcher, low ramp, or stable horizontal board may be easier to use. Try more than one texture. Common options include sisal rope, sisal fabric, corrugated cardboard, carpet, wood, and dense woven material. Some cats are highly particular.
For pet parents building or restoring a rope-covered post, BellenPaws offers a free rope length calculator. It can help estimate how much rope is needed based on the height and width of the post, which may prevent an unfinished project and a frustrating second trip for supplies.
Put the Scratcher Where the Cat Already Scratches
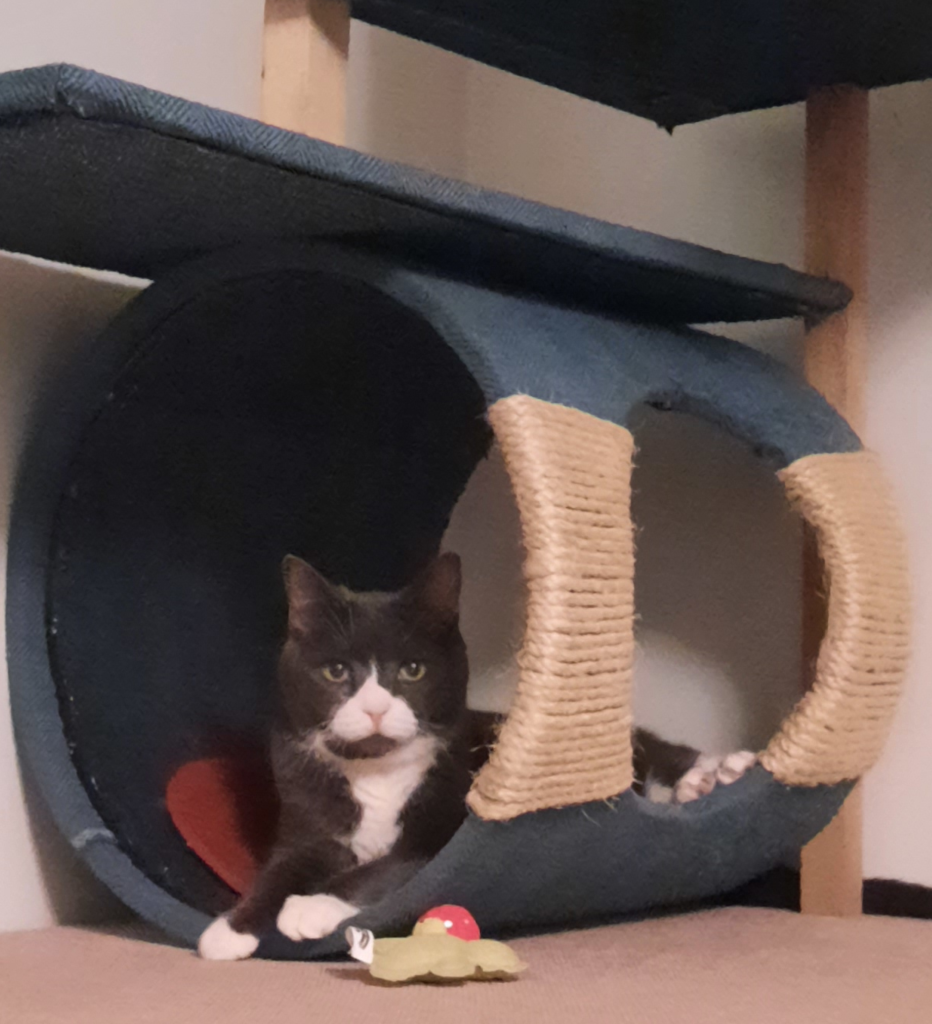 Placement can matter more than price. A beautiful scratching tower hidden in a quiet spare room may receive no attention. Meanwhile, the sofa corner in the middle of family activity remains appealing. Place the new scratcher directly beside or in front of the damaged area. It may look awkward for a while, but temporary inconvenience is better than ongoing destruction.
The approved surface should be the first thing the cat encounters when approaching the old scratching spot. Once the cat uses it reliably, you can move it gradually. Shift it only a few inches every several days.
Useful locations include sleeping areas, entrances, hallways, windows, feeding areas, and rooms where the family spends time. Many cats scratch shortly after waking, so placing a scratcher near a favorite bed can work extremely well. Multi-cat homes usually need several scratching areas. One post may not be enough, especially if a confident cat controls access to it.
Make the New Scratcher More Appealing
Cats learn through comfort, reward, and repetition. Rub catnip or silver vine on the scratcher if your cat responds safely to them. Some cats show little interest in catnip but react strongly to silver vine. Use a small amount and watch for overstimulation.
A wand toy can encourage the cat to reach up against a vertical post. Move the toy around the base and along the sides rather than forcing the cat’s paws onto the surface. Praise and reward the cat immediately after approved scratching. A small treat, gentle affection, or a short play session can help connect the behavior with something pleasant.
Avoid carrying the cat to the post and dragging the paws across it. That may frighten the cat and create a negative association with the new object. Leave some scratch marks on the post. A worn scratcher may look untidy to us, but it carries the cat’s scent and visible markings. Replace it when it becomes unsafe, unstable, or too damaged to function, not simply because it looks used.
Make the Furniture Less Satisfying
While the cat learns to use the new surface, make the old one less rewarding. A fitted cover or tightly secured blanket can change the texture. Clear furniture guards can block access to corners. Double-sided furniture tape may discourage some cats because they dislike the sticky feeling, although it should only be used on surfaces that will not be damaged.
A temporary barrier can also help. Place a side table, storage basket, scratching board, or other safe object in front of the targeted area. Avoid homemade sprays made with concentrated citrus oils, peppermint oil, tea tree oil, eucalyptus oil, or other essential oils. Cats process many concentrated compounds poorly, and residue can get onto paws and fur.
Commercial deterrent products should be labeled for use around cats and appropriate for the furniture material. Even then, test them in a hidden area and provide an approved scratcher nearby. Removing one option without giving the cat a replacement usually leads to scratching somewhere else.
Trim Claws Without Removing the Need to Scratch
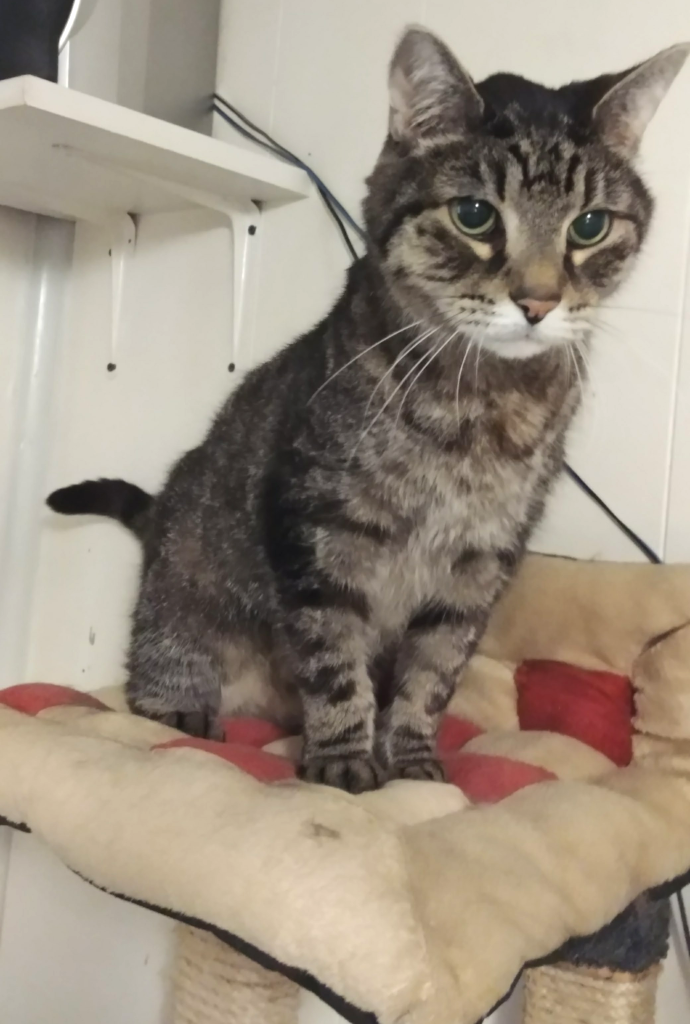 Regular claw trimming can reduce the amount of damage caused by each scratching session. It does not remove the behavioral need to scratch. Many cats need nail checks every few weeks, though growth rates vary. Senior cats may need closer attention because they sometimes scratch less, move less, or develop thickened claws that curve toward the paw pad.
Use clippers designed for pets and trim only the sharp tip. The pink area inside a light-colored claw contains blood vessels and nerves. Dark claws are harder to judge, so remove very small amounts. A veterinarian or groomer can demonstrate safe trimming. This is especially helpful for cats with arthritis, fear, poor vision, thick nails, or past handling trauma.
Plastic nail caps may reduce furniture damage for some cats. They must be fitted correctly, replaced as the claws grow, and monitored so they do not interfere with normal claw shedding. They are not a substitute for scratchers, exercise, or regular paw checks.
Declawing should not be treated as a furniture solution. The procedure removes the last bone of each affected toe, not just the claw. It can lead to pain, mobility changes, and behavioral problems. Furniture can be repaired or replaced. A cat’s toes cannot.
Watch for Sudden Changes in Scratching
A sudden increase in scratching can be linked to stress or changes in the home. New pets, visitors, outdoor cats near windows, moved furniture, schedule changes, construction noise, or reduced attention can all affect behavior. Adding scratching stations near busy pathways and resting areas may help a cat feel more secure. A sudden decrease also deserves attention, especially in a senior cat. Cats with arthritis, weakness, painful paws, overgrown claws, or other health problems may stop stretching against tall posts.
Check the paws for swelling, broken claws, redness, discharge, or claws growing toward the pads. Arrange a veterinary examination if scratching changes sharply, movement looks painful, or the cat begins avoiding normal activities. Older cats should not be expected to use equipment designed only for young, athletic pets. A low, stable scratching board beside a warm bed may get more use than a tall tower across the room.
Protect Furniture During the Learning Period
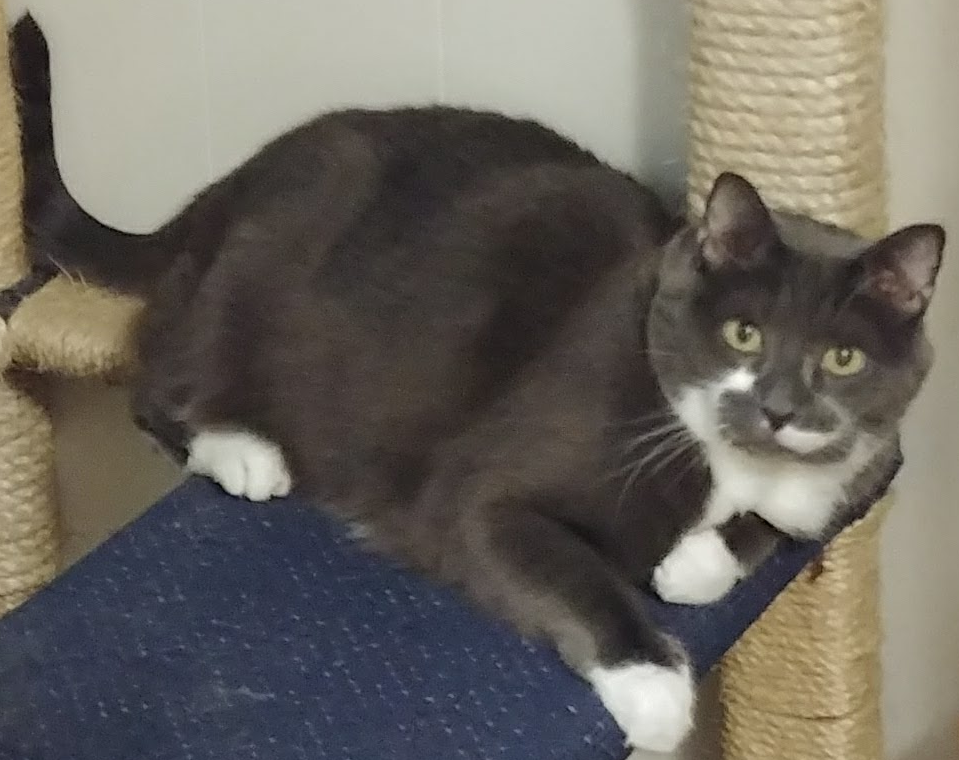 Behavior change takes repetition. Keep protection in place long enough for the new habit to become established. Continue rewarding approved scratching even after the furniture is no longer being targeted. Maintain several scratchers, replace damaged rope, refresh worn cardboard, and tighten loose bases.
Inspect homemade posts for staples, nails, glue residue, loose rope, and sharp edges. Rope should be wrapped tightly so claws do not become caught beneath loose coils. Our rope length calculator can help with planning, but the finished post still needs regular safety checks as the material wears down.
Move protected furniture slowly rather than changing everything at once. Cats often return to familiar locations after covers or guards are removed. Keeping the preferred scratcher beside the repaired area gives the cat a familiar place to leave those natural claw marks.